How to Fish[ | ]
In order to start fishing you need a fishing pole, you get one through the completion of the tutorial or you can craft one yourself. Once you have a fishing pole you must then find one of the many fishing spots scatted throughout the world.
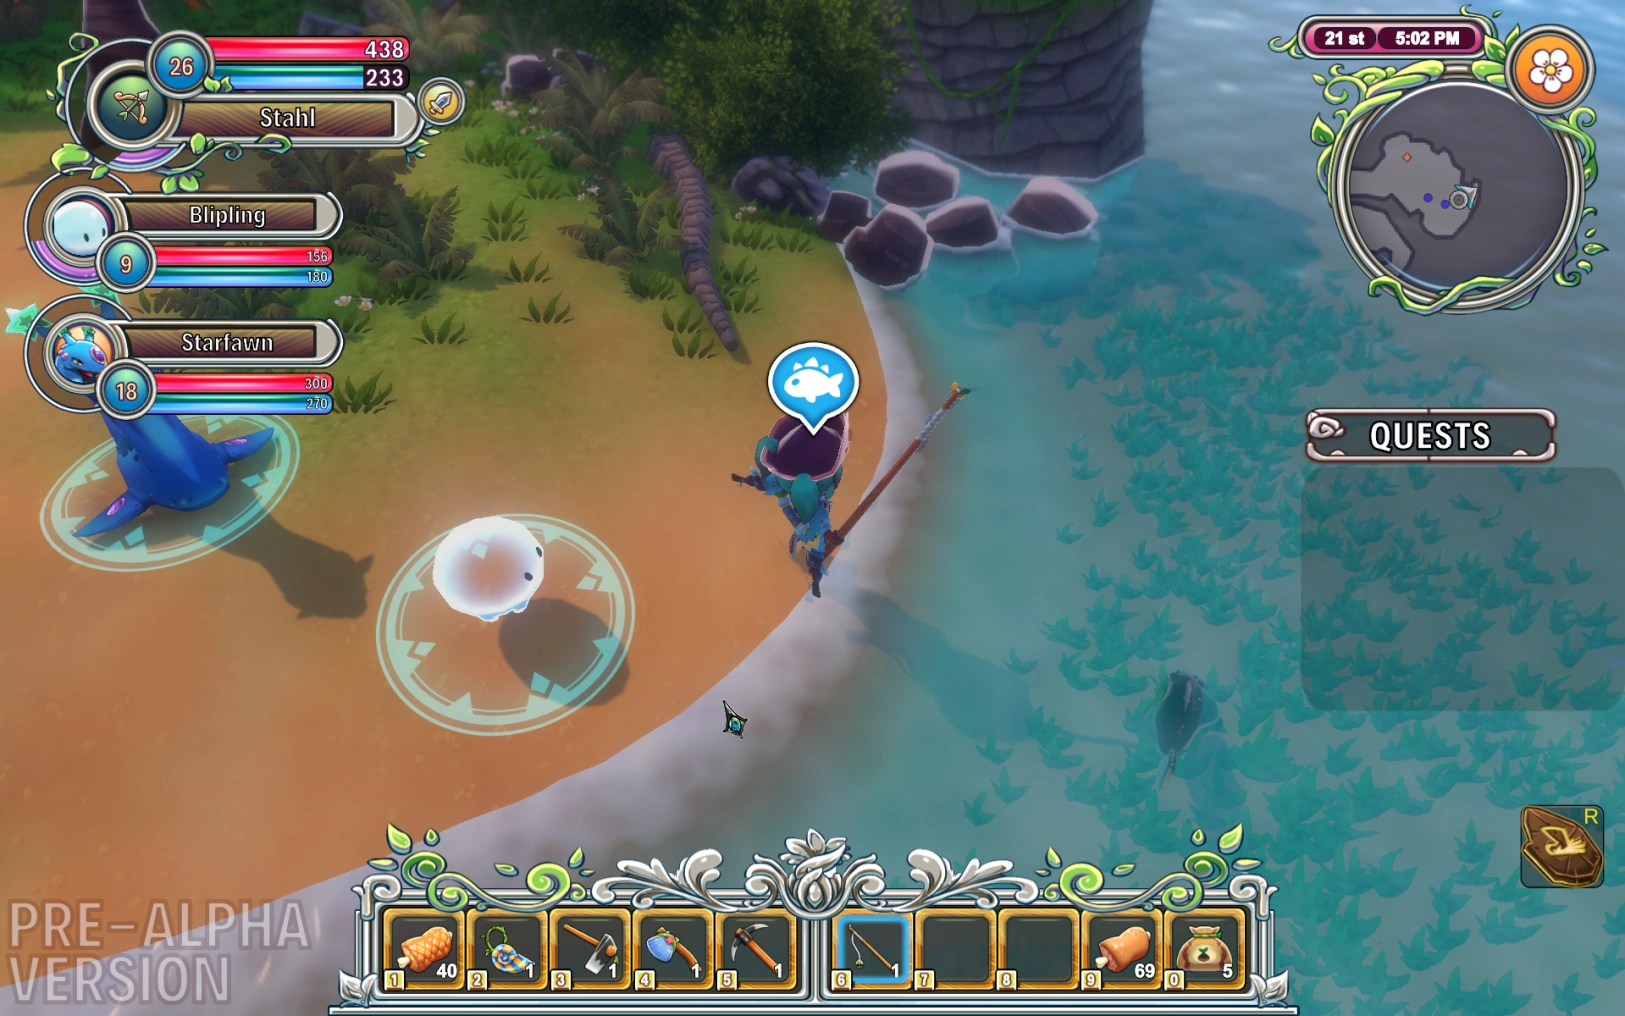
The fishing spots are easy to find if you know where you are looking for. A fishing spot will be right next to any body of water, then within the water you should see the silhouette of a fish swimming around. Walk up to the water and an icon of a fish should appear over your head.
Once the icon appears equip you fishing pole and click. Once you click you will cast you line triggering the fishing mini game, be prepared. The line will be cast near the fish and it will nibble on your line, then once it bites down and exclamation point will appear and that is when you should click again to set the line.
Once the line is set a fishing pole will appear along with a blue bar with a fish icon. For ease we can call the blue bar the fishes health/stamina and the fishing pole is your own poles stress/health. You need to click and hold to reel the fish in. As you click the stress bar of you pole will fill up, be careful though because if it fills up you rod will break resulting in you losing the fish. So you need to click and then release to let your stress go down. Be alert, the fish will sometimes fight back drastically raising your stress bar. In order to counteract the fish press and hold the desired movement key that correspond to the arrow/s that show up on screen.
If you follow all these instructions you can successfully catch a fish yourself!
!!WARNING!!
Sometimes while fishing a bigger and badder fish will come around and eat the fish on your line!
This typically happens when your first fish is at half health, but don't fret all that this impacts is that the fish health bar is reset and the new fish is harder to catch. If you remember these tips it shouldn't be a challenge.
Happy Fishing!
Where to Fish[ | ]
- 2 available fishing spot(s) in Vokka Town at the Angler Area.
- 1 available fishing spot in Vokka Town at the Vokka Beach.
- 2 available fishing spot(s) in Puffy Path towards the North-West section.
- 1 available fishing spot(s) in Windy Trail towards the South-West section.
- 1 available fishing spot(s) in Sandy Beach towards the West section.
- 1 available fishing spot(s) in The Temple at the Sunken Fall.
- You can find this fishing spot by going to the room where you find Magenta and heading to the room to the right, and keep going till you're at the end of the tunnel
- 1 available fishing spot(s) in Pincer Patch towards the East section.
- 1 available fishing spot(s) in Trocker Cove East in the East section.
- 1 available fishing spot(s) in the gigantic shell.
- 1 available fishing spot(s) in Witchmarsh toward the middle section.
- 1 available fishing spot(s) in Mystic Aisle toward the west section.
List of Fishes[ | ]
| Name | Size | Value | Location(s) | |
|---|---|---|---|---|
| Berkel | Small | 110 |
Mystic Aisle, Witchmarsh | |
| Brickel | Small | 140 |
Great Oasis, Evercamp, Terrace Ruin | |
| Butternet | Small | 30 |
Angler's Pier (left), Sandy Beach, Windy Trail, Puffy Path (both), Pincer Patch, Trocker Cove East, The Temple | |
| Clomper | Small | 280 |
Great Oasis (middle left) | |
| Chlow | Small | 90 |
Mystic Aisle | |
| Flogrin | Small | 200 |
Witchmarsh | |
| Gupper | Small | 50 |
Angler's Pier (left), Sandy Beach, Windy Trail, Pincer Patch, Trocker Cove East | |
| Hackrell | Small | 160 |
Terrace Ruin, Evercamp | |
| Kardine | Small | 250 |
Terrace Ruin, Great Oasis, Evercamp | |
| Kostar | Small | 150 |
Angler's Pier (left), Sandy Beach, Windy Trail, Puffy Path (both), Pincer Patch, Trocker Cove East | |
| Mudlop | Small | 230 |
Mystic Aisle, Witchmarsh | |
| Ouluk | Small | 450 |
Great Oasis (middle left) | |
| Pillet | Small | 110 |
Seirun Lake | |
| Rainbow | Small | 250 |
Angler's Pier (right), Windy Trail, Pincer Patch, Trocker Cove East | |
| Sagklin | Small | 190 |
Pengloo Path | |
| Slydin | Small | 400 |
Mystic Aisle | |
| Starbream | Small | 300 |
Angler's Pier (right), Puffy Path (both) | |
| Igrin | Small | 300 |
Pengloo Path | |
| Corcil | Small | 500 |
Seirun Lake,
Pengloo Path | |
| Rippel | Small | 330 |
Seirun Lake | |
| Krown | Small | 240 |
River Site | |
| Falloob | Small | 260 |
River Site | |
| Greblin | Small | 350 |
Molten Cave | |
| Frovel | Small | 1,000 |
Molten Cave | |
| Horrork | Small | 380 |
River Site, Molten Cave |
| Name | Size | Value | Location(s) | |
|---|---|---|---|---|
| Angler | Medium | 250 |
Angler's Pier (right), Windy Trail, Puffy Path, Trocker Cove East, The Temple | |
| Drokol | Medium | 350 |
Mystic Aisle | |
| Gloust | Medium | 350 |
Crystal Abyss | |
| Grekon | Medium | 450 |
Winding Cave | |
| Harpil | Medium | 400 |
Mystic Aisle, Witchmarsh | |
| Jigil | Medium | 900 |
Great Oasis (middle left) | |
| Kilopod | Medium | 350 |
Angler's Pier (right) | |
| Neelek | Medium | 400 |
Pengloo Path, Crystal Abyss | |
| Ovite | Medium | 550 |
Witchmarsh | |
| Phillit | Medium | 850 |
Mystic Aisle | |
| Ramuck | Medium | 600 |
Great Oasis (both sides) | |
| Saberwebel | Medium | 400 |
Puffy Path (both) | |
| Slicefin | Medium | 750 |
Puffy Path (left) | |
| Suncol | Medium | 400 |
Great Oasis (both sides) | |
| Lastar | Medium | 950 |
Seirun Lake, Pengloo Path | |
| Plounder | Medium | 650 |
Seirun Lake, Pengloo Path, Crystal Abyss | |
| Malint | Medium | 500 |
River Site | |
| Reckel | Medium | 550 |
Molten Cave | |
| Nockkor | Medium | 700 |
Molten Cave | |
| Dakkus | Medium | 550 |
River Site,
Skeetle Hive |
| Name | Size | Value | Location(s) | |
|---|---|---|---|---|
| Chaggarn | Large | 900 |
Winding Cave | |
| Flakeel | Large | 700 |
Great Oasis (both sides) | |
| Gannis | Large | 850 |
Sunken Valphyr | |
| Gropp | Large | 650 |
Sunken Valphyr | |
| Groukel | Large | 500 |
Sunken Valphyr,
Pincer Patch | |
| Rabbitray | Large | 770 |
Pincer Patch, The Temple, Sunken Valphyr | |
| Unikoz | Large | 1,300 |
Baffin Isle | |
| Vattail | Large | 1,200 |
Sunken Valphyr | |
| Varrage | Large | 650 |
Crystal Abyss,
Pander Hideout | |
| Vokkashark | Large | 800 |
Sunken Valphyr, Pincer Patch | |
| Volfray | Large | 1,250 |
Great Oasis (middle top) | |
| Cartrios | Large | 1,300 |
Crystal Abyss | |
| Grenearl | Large | 950 |
Crystal Abyss | |
| Bomurk | Large | 800 |
Skeetle Hive | |
| Lazrak | Large | 1,000 |
Skeetle Hive | |
| Solray | Large | 1,350 |
Skeetle Hive |